Sunday, May 27, 2012

Now I am going to make some booklets out of file folders...if I can just find the directions.
Thursday, March 22, 2012
new version of the bunny bags
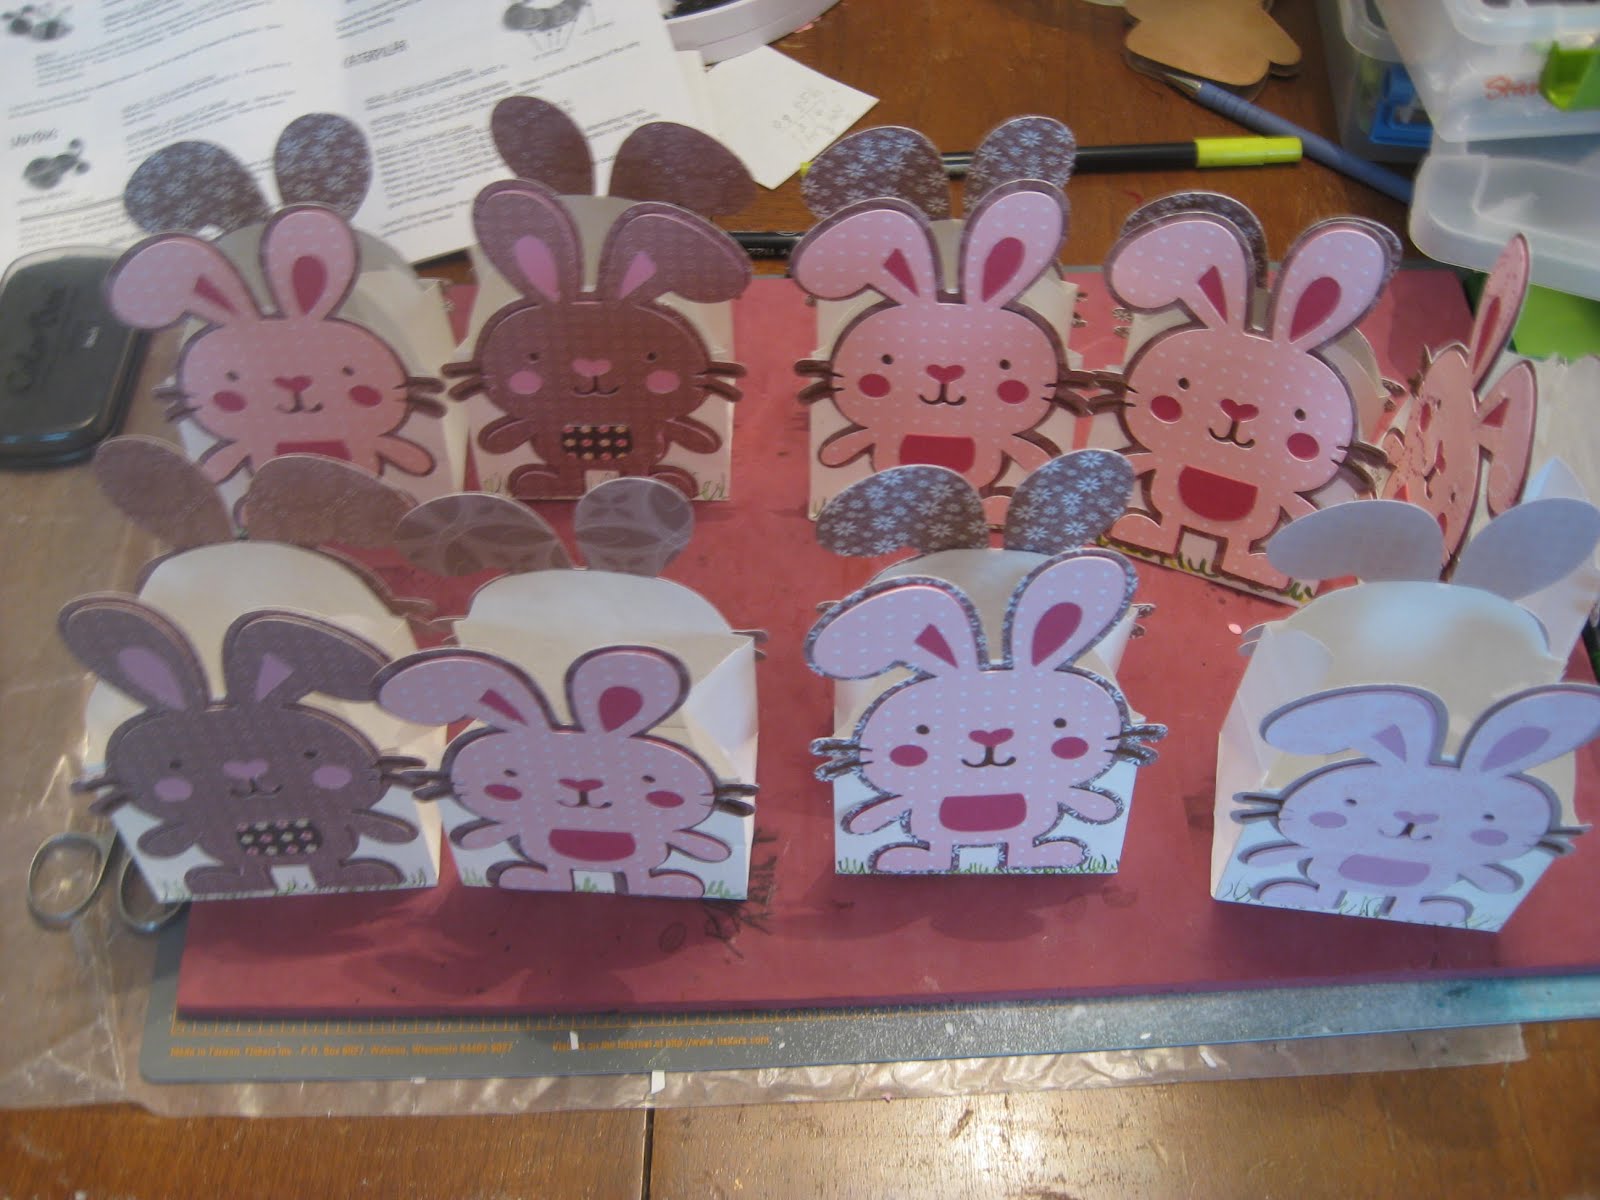

Here are the bunnies all in a row made with the Cricut Create a Critter cartridge in 5" size. I was able to find treat bags to cut down to make the basket part between the bunnies. I also have some wild green grass and candy to fill them up and cellophane bags to drop them into for presentation.
Monday, February 20, 2012
Now for something entirely different


 This has been such a delightful project. This is by Kaisercraft and it is called a mini cubby. There is some basic assembly to do and then the fun begins. This is probably going to be the color that my box remains but it definitely is not the first color I painted it! The box itself is very sturdy and takes a lot of painting and cleaning and painting over without warping. The nine little boxes are a bit more fragile but still study enough for a lot of painting and gluing. The company even included an extra box to use if you have a problem or for a template for cutting the paper for the front. I just papered the front but you could do all four sides and even the bottom. I thought it might slide easier without the paper on the sides. I am still working on the top. I think I want it to look like a meadow with a birds' nest which I will build out of bits and pieces from the yard. This kit cost less than $15. to buy and provided me with hours of entertainment. I can hardly wait to start on my next one. This time I will paint all the parts with a color and make sure I am happy with it before assembling. Kaisercraft has several kits along the lines of this one.
Saturday, February 11, 2012
Dapper Dillinger Trousers
My first real sewing project of the year - Figgy's Dapper Dillinger Flat Front Trousers! Emmett's favorite color is green so I made these for him out of a light weight green corduroy with a contrasting patterned corduroy. My model was very busy playing soldier / rock star but was happy to add these pants to his ensemble. They are actually long enough but I had to tuck the shirt in so you could see the lovely flat front of these pants and that really yanked them up.


Thursday, February 9, 2012
Wreath from Molly's design


 Look from bottom to top since I am never going to get used to adding my first picture last! The hard foam wreath was crocheted to cover with brown and a varigated green yarn. Next a LOT of tiny shamrocks were cut using the Sizzix Big Shot in a dark and light green felt then in four different patterns of fabric. It was fun work and even more fun with help from Carrie. After trying all sorts of patterns I decided on a light to dark transition from the outside to the inside of my wreath. Each shamrock was then pinned with a headed pin into the wreath form. Some tiny bows in green were added for accent. Love the design Molly. Thank you so much for such a pleasant craft project.
Tuesday, February 7, 2012
Valentine plastic canvas completed

Here you see the final product for the plastic canvas lesson shown a few weeks ago. Just adding the silly eyes and nose make them come alive. They are ready for boxing and sending to my grandchildren and their friends for Valentine's day with a chocolate kiss in each one and of course, more kisses from Nana!
Subscribe to:
Posts (Atom)